Macroeffects editor (description)
To work with Macroeffects editor you should already know the guide queen studio environment To get started, you have to open existing or create a new project. Then, you should choose at the main toolbar, as a result, window of “Macroeffects editor” will open
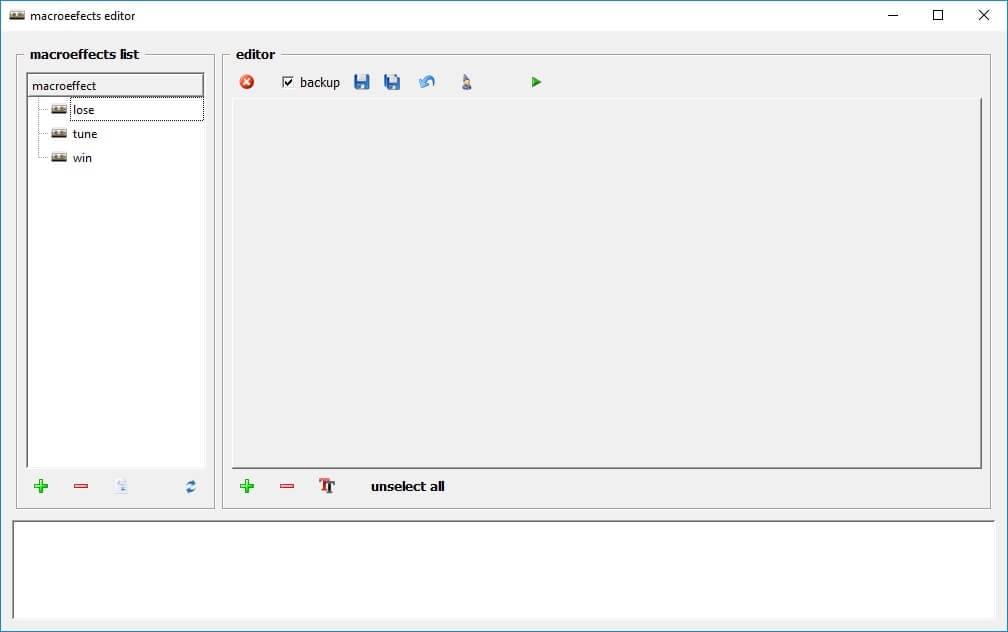
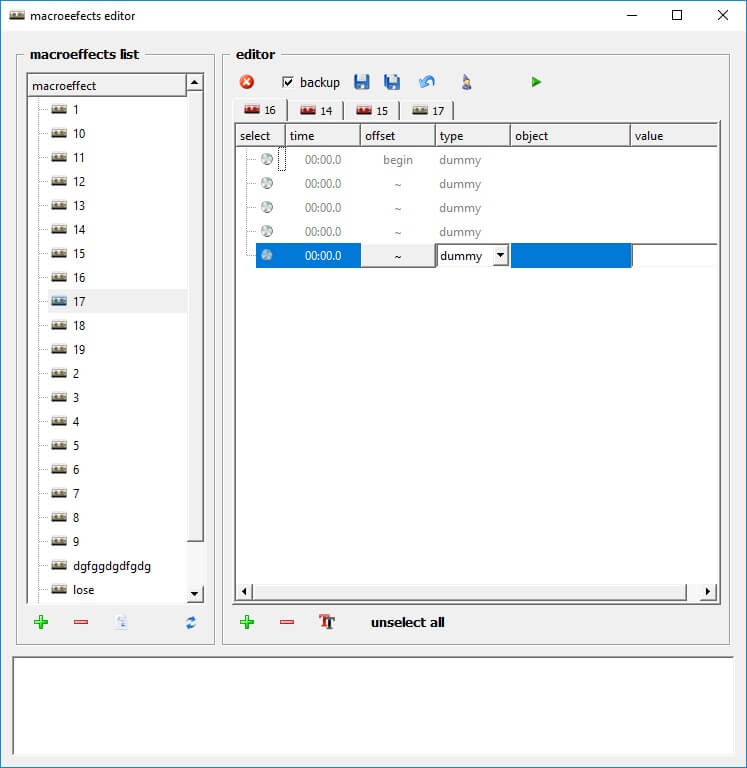
Main screen will be separated to 3 parts: macroeffects list, editor, logger, detailed description is written below.
Macroeffects list
Separated to 2 parts. At the top - list of all existing macroeffects of .mef format, only the names are listed. At the bottom - macroeffects interaction toolbar.
Tool | Name | Description |
|---|---|---|
 | add new macroeffect | add new macroeffect |
 | delete macroeffect | delete macroeffect |
 | rename macroeffect | rename chosen macroeffect |
 | refresh files | refresh files, arrange in alphabetical order |
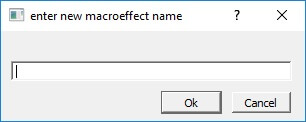
New macroeffect creation causes the window to appear. Enter macroeffect name, then push Ok to confirm, Cancel to cancel.
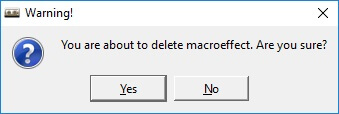
Deleting the chosen file the window appears:
to confirm click Yes, to cancel No.
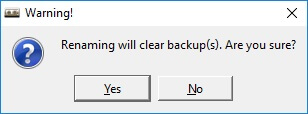
To rename chosen file the window appears:
to confirm click Yes, to cancel No. If it's Yes the window appears:
enter new macroeffect name, to confirm click Ok, to cancel Cancel.
Editor
Separated to 3 parts: There are toolbars at the top and the bottom, chosen macroeffect is at the centre.
Top toolbar
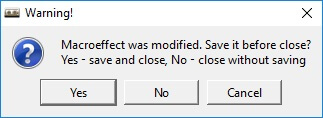
Tool close current tab opens “save file” window. if it was changed and not saved. To save and close click Yes, to close and dismiss click No, to cancel click Cancel.
Tool backup saves previous versions, if the tick is put in the box.
Tools save&save all don't need confirmation and save files automatically.
Tool restore backup shows list of all saved versions of this macroeffect.
Tool check up errors shows the saving window
if the file was changed and was not saved. To save and start check press Yes, to dismiss changes and start check press No, to dismiss changes and start the check press Cancel.
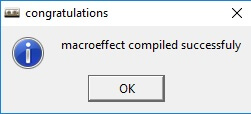
Then the file check starts, if there is no errors, the window appears:
Press Ok to continue. If there is an error, the window with the number of the line with an error appears.
This example shows an error in the 5th line. If there is more errors, you will be shown the number of a highest line with an error. Then, after the correction, there will be shown the highest line number, that was under that, tou had corrected etc.
Bottom toolbar
Tool | Name | Description |
|---|---|---|
 | add new effect | adds new effect |
 | delete effect | deletes an existing effect |
 | cope effect | adds a copy of chosen effect |
 | unselect all | unselects all chosen effects |
To work with bottom toolbar, you should click on any effect in the middle area of editor window. Tool add new effect- adds new effect into macroeffect, next, after the chosen.
Tool delete effect- deletes chosen effect, and highlight the previous one (and on and on, after deleting). Tool copy effect - copies 1 chosen effect and adds it after the highlighted one. Tool unselect all - (for convenience, the one can highlight multiple effects, by double-clicking on multiple desired effects)), lets you to unselect highlighted effects.
Editor, middle area, macroeffects
Names of macroeffects, presented below top toolbar, are opened (16, 14, 15, 17 in this example). File that is “bigger” than others is highlighted and ready to change (16 in the example). Files might be highlighted with grey and red colors. Grey- file is saved as it was opened (17 in the example), red- file is saved in a different way, that means, that was changed and not saved (14, 15, 16 in that example).
Macroeffect is a pack of effects that have parameter:
Name | Ability to change manually | Description |
|---|---|---|
select | no(changes if “type” is changed) | graphic image of object type |
time | no(depends on “offset” parameter and previous “time” value) | start time of an effect |
offset | yes | change time |
type | yes | choose an object type |
object | yes/no(depends on “type”) | choose an object in the room |
value | yes/no(depends on “type”) | value of an parameter (for example, link to a file or volume of sound) |
Column select has 6 images, 1 for each type (column type)- dummy, reset, out, send, 1 common for pwm & strobo, one common for play, volume, stop.
Column time needs to be filled like: 00:00.0,HH:MM.S H - hours, MM - minutes, S - 1/10 second. Column offset- the first effect (begin), it can't be changed, always 00:00.0. Then, to change starting time of an after, you need to push a button with the “wavy” line.
then the popup window appears
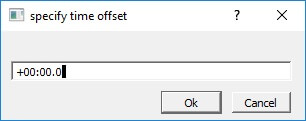
where, choosing the offset time, appears another window
input the time, you want to add to the time of the start of an effect, to commit, push Ok, to dismiss - Cancel. Choosing same time, all the changes will be dismissed, the addition of time will be reseted. If you'll input wrong time signature, the system will correct it(for example, input of 70 minutes will turn it to 1 hour 10 minutes).
Column type- object type, choosing the type, by using arrow, we'll receive:
then choosing the desired type. Column object- choose of the object to control (depends on type).
Column value- choose of an parameter of an object (depends on type).
Editing effects in macroeffects
To highlight an effect (a line) of macroeffect, you need to click n it with LMB. To highlight multiple effects you need to double click on line (effect).
All the highlighted effects will be operating simultaneously. There exists 5 actions with objects (3 always, 5 with objects, consisting “*” ). Click on an any existing window causes another to appear:
where delete item & duplicate item, like at the bottom toolbar. add item gives more opportunities
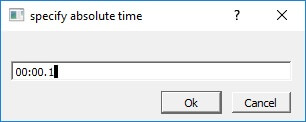
than the bottom toolbar, there are all the functions, like in an offset column (same time, offset time), and function absolute time - after clicking on it will appear next window:
input an effect start time.
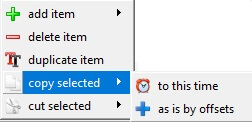
Two additional actions appear, if there are 1 or more objects with “*”. In that case
first 3 functions are the same. Two additional functions allow you to copy and cut highlighted elements on an any line (effect) of an macroeffect.
