Queen Unisense (version 1)
Queen unisense is a tool that provides an extension of the queen board I/O. Unisense general purposes:
- I/O channels extension;
- specific functions: servomachines, pixel led strips, RFID deep integration, IR-receivers, wireless transmission and so on;
- custom arduino microcontrollers deep integration to the QUEEN system (for advanced users).
Queen Unisense hardware
Unisense is simply based on arduino and rs485 module. You can purchase ready queen unisense PCB at ERD shop or you can make unisense yourself.
Queen Unisense PCB
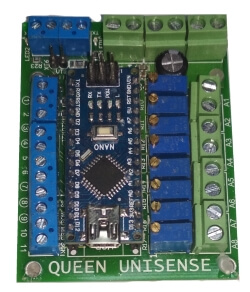
Warning! Queen unisense version 1 PCB production is discontinued at the moment.
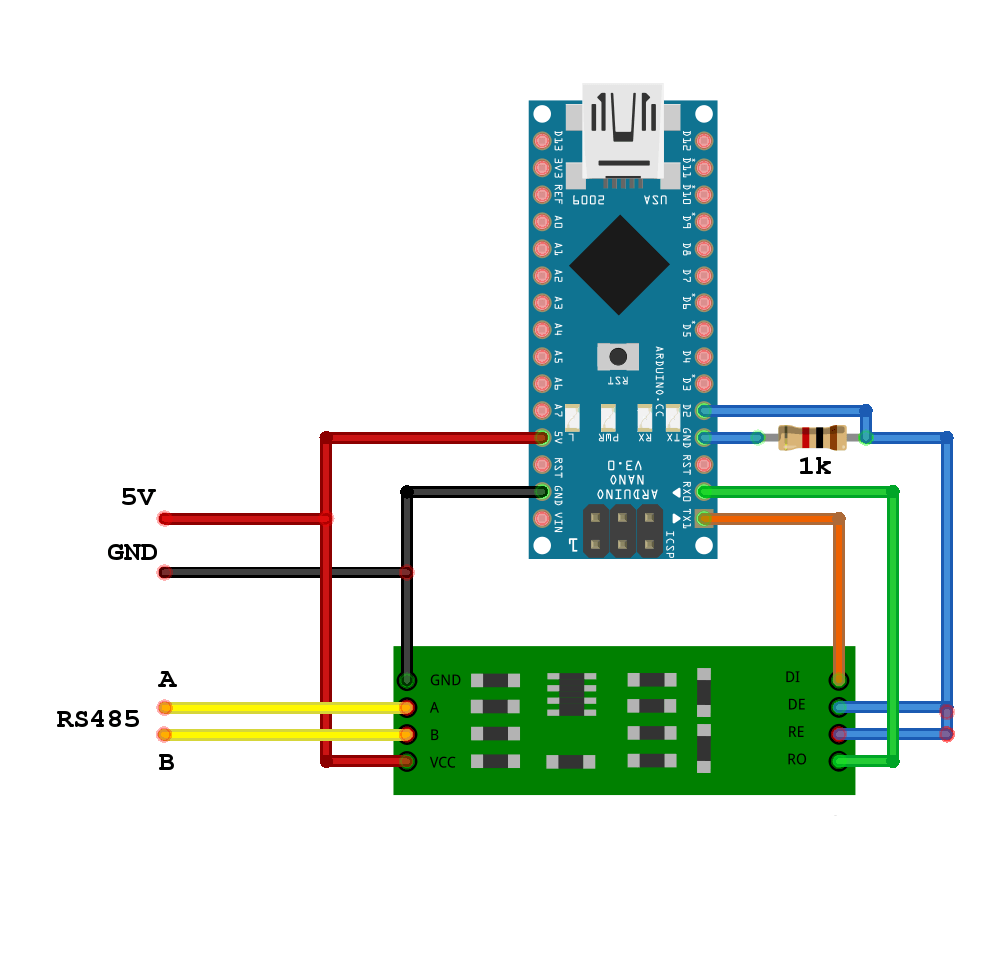
Simple Queen Unisense construction
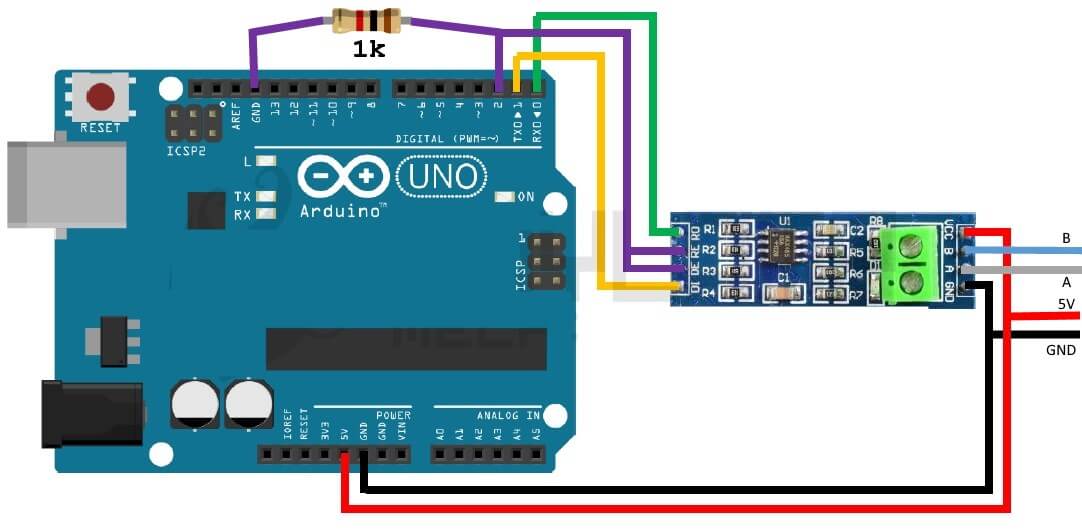
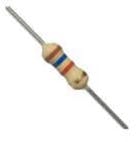
Queen Unisense can be constructed from any arduino microcontroller. You need: arduino, 1 kOhm resistor (optionally), TTL-RS485 module, arduino screw shield (optionally). These components can be easily purchased in the shop. There several unisense assembles for Arduino Uno, Nano, Mega are described below. We strongly recommend to use screw shield for reliable wires connection and 1kOhm pulldown resistor to turn off a RS485 transmitter while the Arduino is not initialized.
Queen Unisense for Arduino Uno
The next components are required:
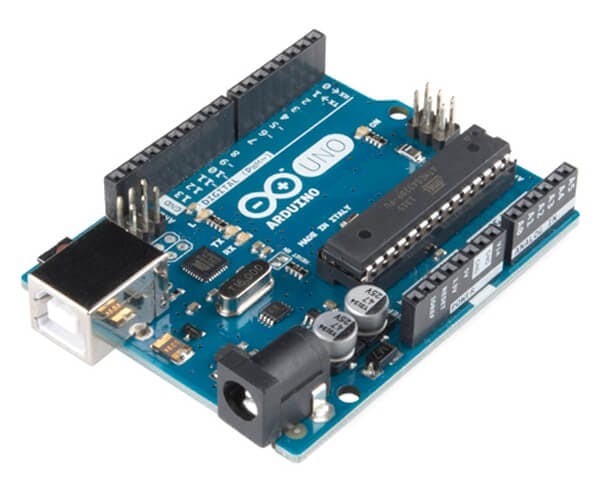
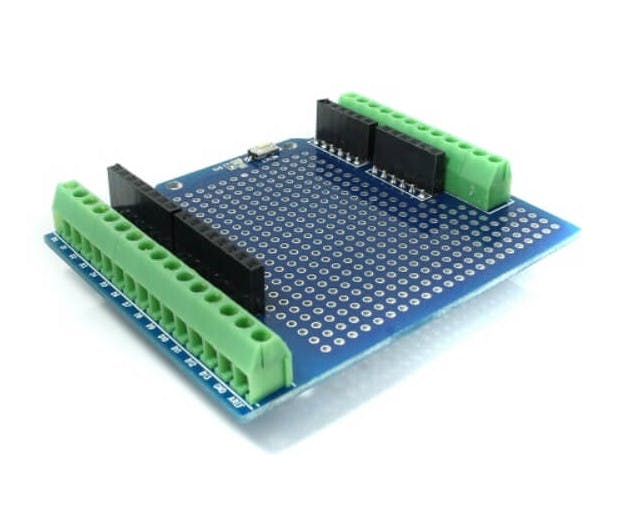
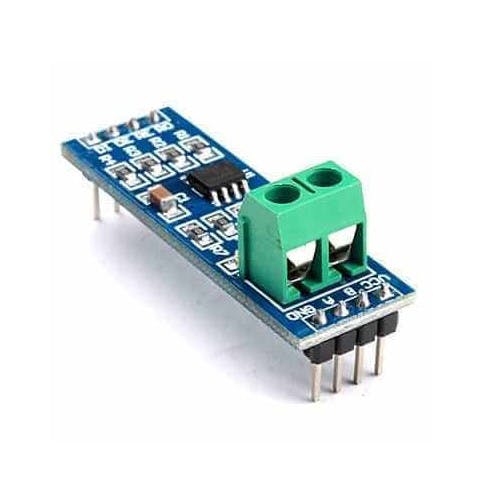
arduino uno | uno screw shield | rs485 module | 1 kOm resistor |
|---|---|---|---|
 |  |  |  |
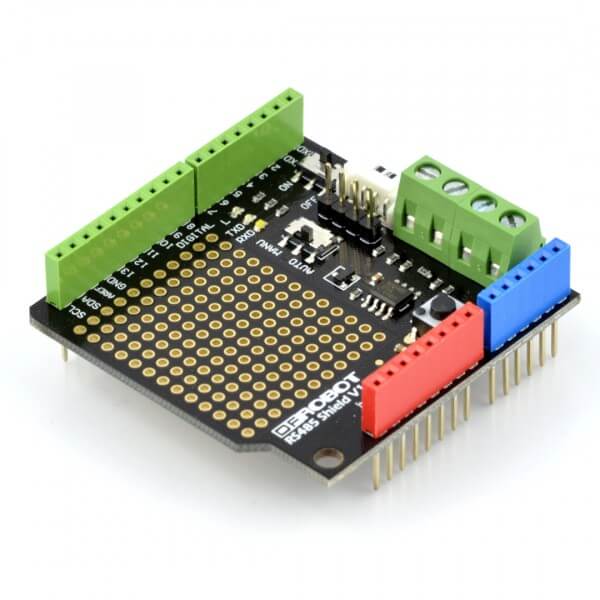
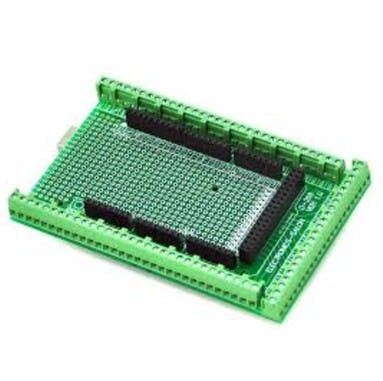
For convinience you can use DFRobot RS485 shield instead of rs485 module and resistor (it's almost the same):
Queen Unisense for Arduino Nano
The next components are required:
arduino nano | nano screw shield | rs485 module | 1 kOm resistor |
|---|---|---|---|
 |  | | |
Queen Unisense for Arduino Mega
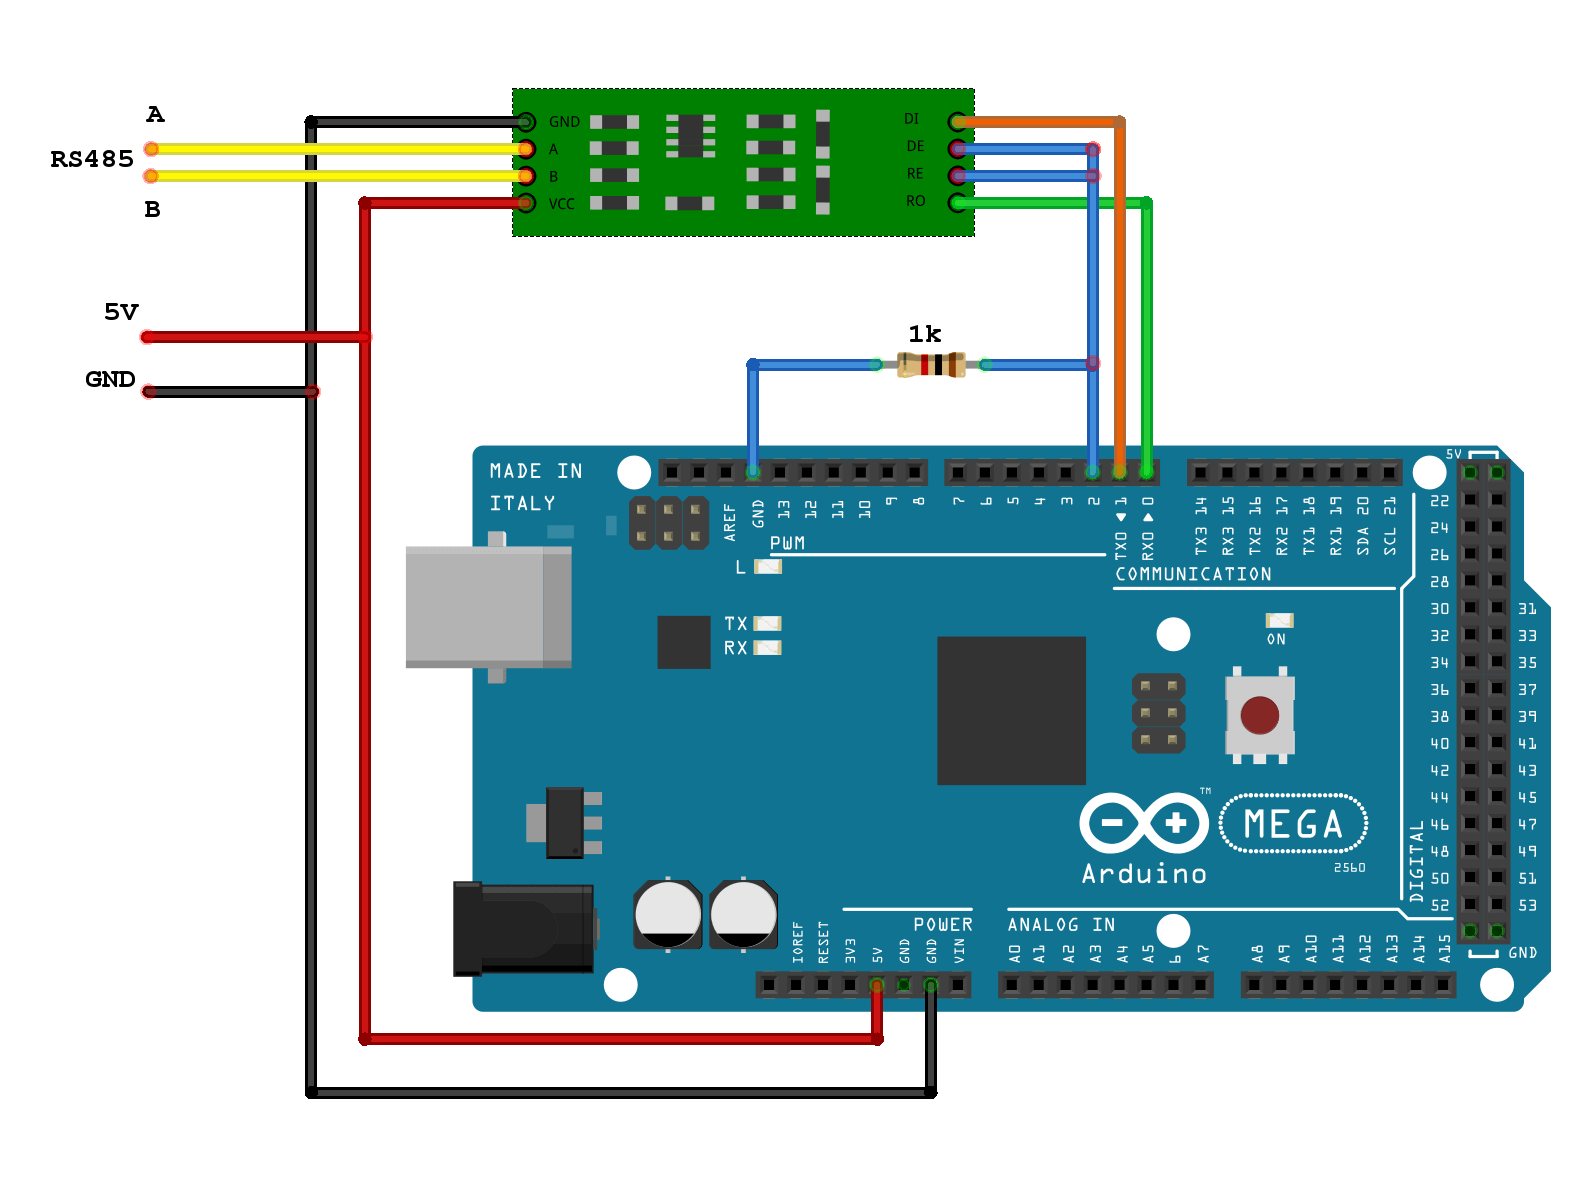
The next components are required:
arduino mega | mega screw shield | rs485 module | 1 kOm resistor |
|---|---|---|---|
 |  | | |
Warning! Some Arduino Mega chips have problems with RS485 on UART0 (RX0,TX0). Nevertheless, uniense can operate on different UARTs: RX1/TX1, RX2/TX2, RX3,TX3. To perform this, just replug two wires from RX0/TX0 to another UART.
Plugging Queen Unisense to the Control Sytem
Queen unisense must be powered with 5V and connected to the Control System using RS485 interface of the Serial Server:
Подключение осуществляется прямым образом: клемма A сервера к клемме A unisense, клемма B сервера к клемме B unisense. К одному Serial Server можно подключить до 8 устройств queen unisense.
plug using direct connection: unisense terminal-A to Serial Server terminal-A, unisense terminal-B to Serial Server terminal-B. You can plug up to 8 queen unisenses to one Serial Server.
Preparing software environment for the Queen Unisense
First, install Arduino IDE. We strongly recommend version 1.0.6. You can download it from the official site or from the ERD cloud.
After installation, open Arduino IDE folder, go to the folder libraries. Create a folder queen_bus and copy queen unisense libraries there. You can download unisense libraries here. Now it's everything ready and now you can upload ready firmwares on the unisense or you can make your own.
Ready Queen Unisense firmwares
Here you can download queen unisense. Download any you need and open it using Arduino IDE. To upload it just extract arduino from screw shield, plug to laptop, upload a firmware and place arduino back to a screw shield.
fullin - all pins, excluding 13 - it's not used, are setup as digital IN and pull up to the 5V, analog pins are setup as analog IN; target Arduinos are nano/uno;
fullout - all pins are setup as digital OUT, except pins 3, 5, 6, 9, 10, 11 - they are setup as PWM; target Arduinos are nano/uno;